
 RSGB News
OR.... ' CONFESSIONS OF A JUNKEY'!!
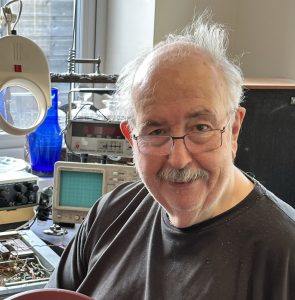 Chris in his workshop
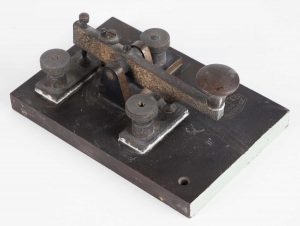 The EK106 before Chris got to work (and pictured below left))
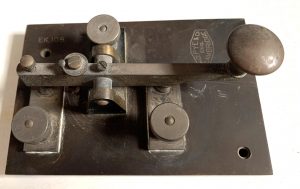 Whenever I do a key restoration, I take lots of pictures of how the key is put together, I then mark up a couple of prints and number the main parts, especially the fixings. I then mark up small plastic bags to put the relevant parts in as I disassemble it. There are many ways to clean brass. My preference is to use Brasso metal polish with a very fine wire wool. Once the oxidation tarnish is removed, I buff the item with a Dremel buffer tool. Bakelite can also be cleaned up with Brasso but instead of wire wool I use a soft cotton wool pad. I give all parts a final clean over with a microfibre cloth.
This particular key presented few difficulties when it came to taking it apart. The retaining hexagonal nuts on the underside were tight in on the recess preventing a box spanner being used.
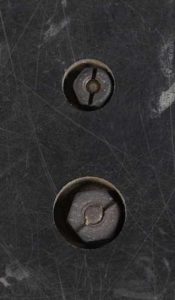 The nuts had a slot in them and fortunately I had a screwdriver bit known as a “snake bit” in my tool box which did the job.
Having stripped the key down, I cleaned up the base and key knob, which were both made of bakelite. Each of the various brass parts were cleaned and buffed. The tension spring looked rather rusty so I decided to find a replacement. Amazon came up trumps but I don’t think it has the same tension characteristic as the original although the same size. If I do sell this key I will include the original spring with the replacement so that the purchaser can fit it if they so wish.
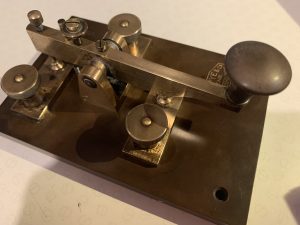 THE FINISHED AND BEAUTIFULLY RESTORED PYE EK106 STRAIGHT KEY
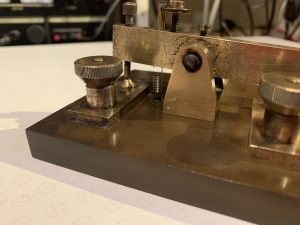 AN EYE FOR DETAIL IN THE PYE EK106
THE RESTORED KEY LOOKS RATHER NICE . I HAVEN'T USED IT IN ANGER YET BUT HOPE TO DO SO BEFORE SELLING IT ON.
CHEERS AND 73'S
CHRIS G0EY0